Hot stamping
An ongoing project of a friend of mine is the creation of small, high-quality hacker passports. These passports have all kinds of cool features, but ofcourse they also require a fancy cover. This cover should look like a real passport. My friend wants the cover to be made from PU leather, with a gold embossing. One way to achieve this, is using hot stamping. Hot stamping uses a foil that has a special, powder-like, coating that sticks to a surface if it is heated. An idea that I got while looking at images and videos of the process was to use a milled out PCB. The rest of this article shows our first attempts at using a PCB for DIY hot stamping.
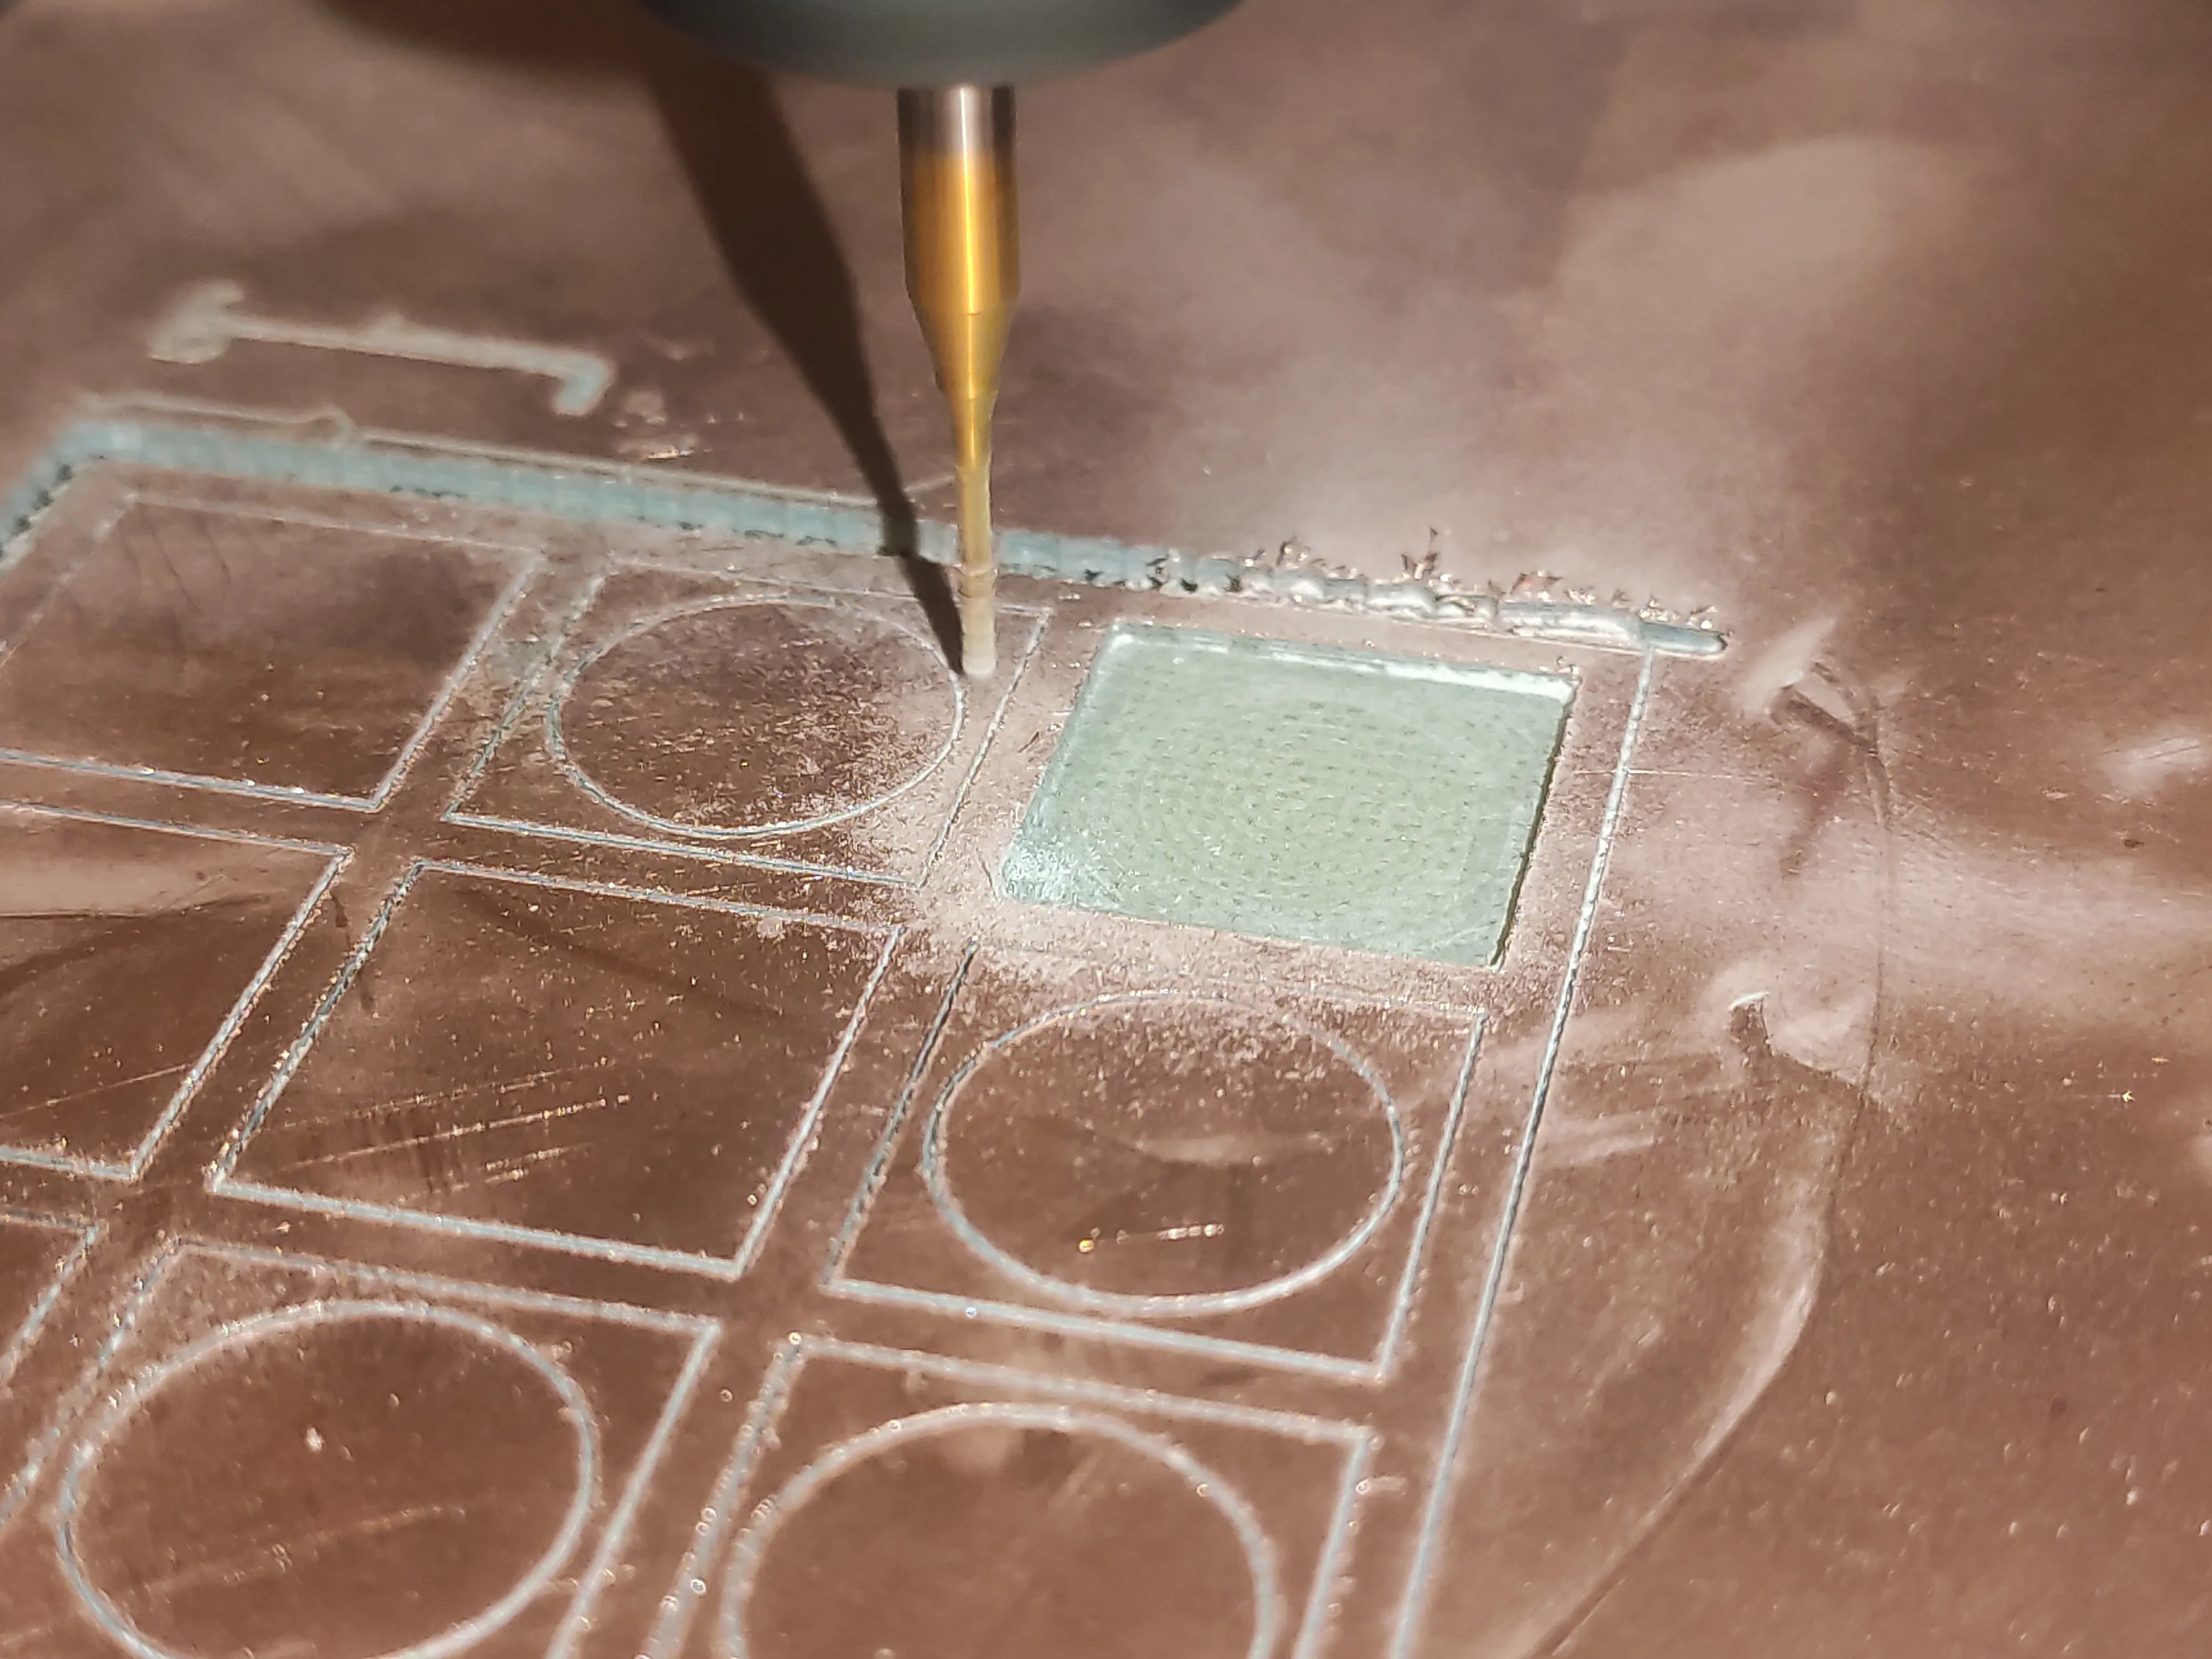

The PCB is created using a low budget 3018 CNC from Aliexpress, which can mill copper clad boards perfectly fine. The design shown is the Hacker Glider.

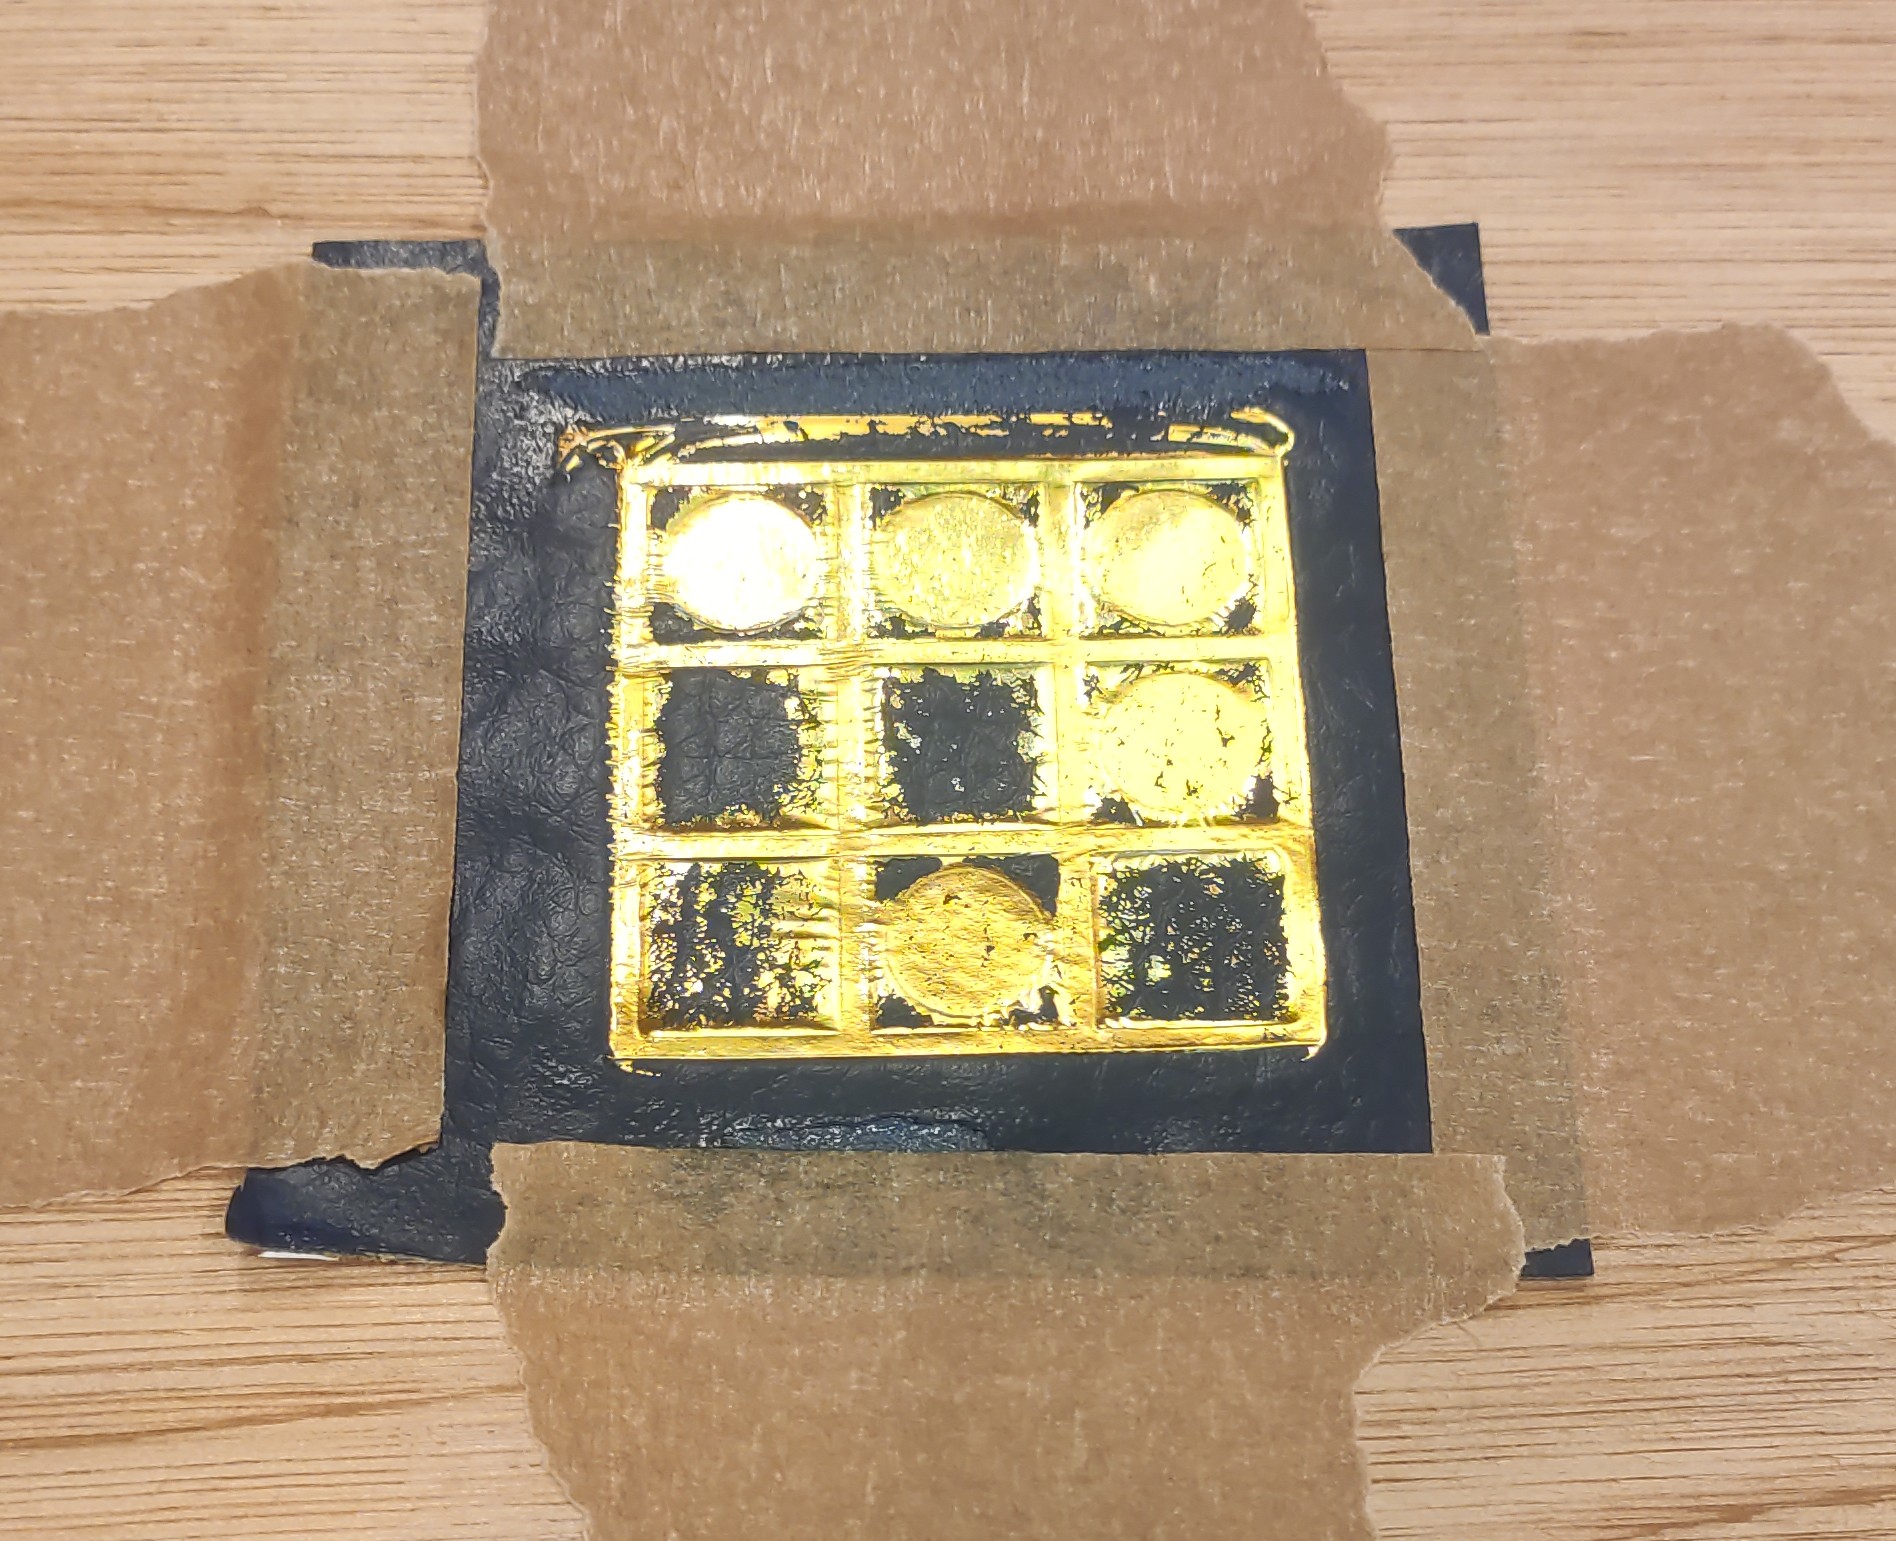
Our first attempt was far from perfect, but it seemed promising! We simpyly used an clothes iron which pressed the PCB-stamp and foil into the leather. It was ‘over-exposed’, but the process did work. This naturally lead us into trying it again, but then with a different temperature or timing. Some of these attempts can be seen in the image below.
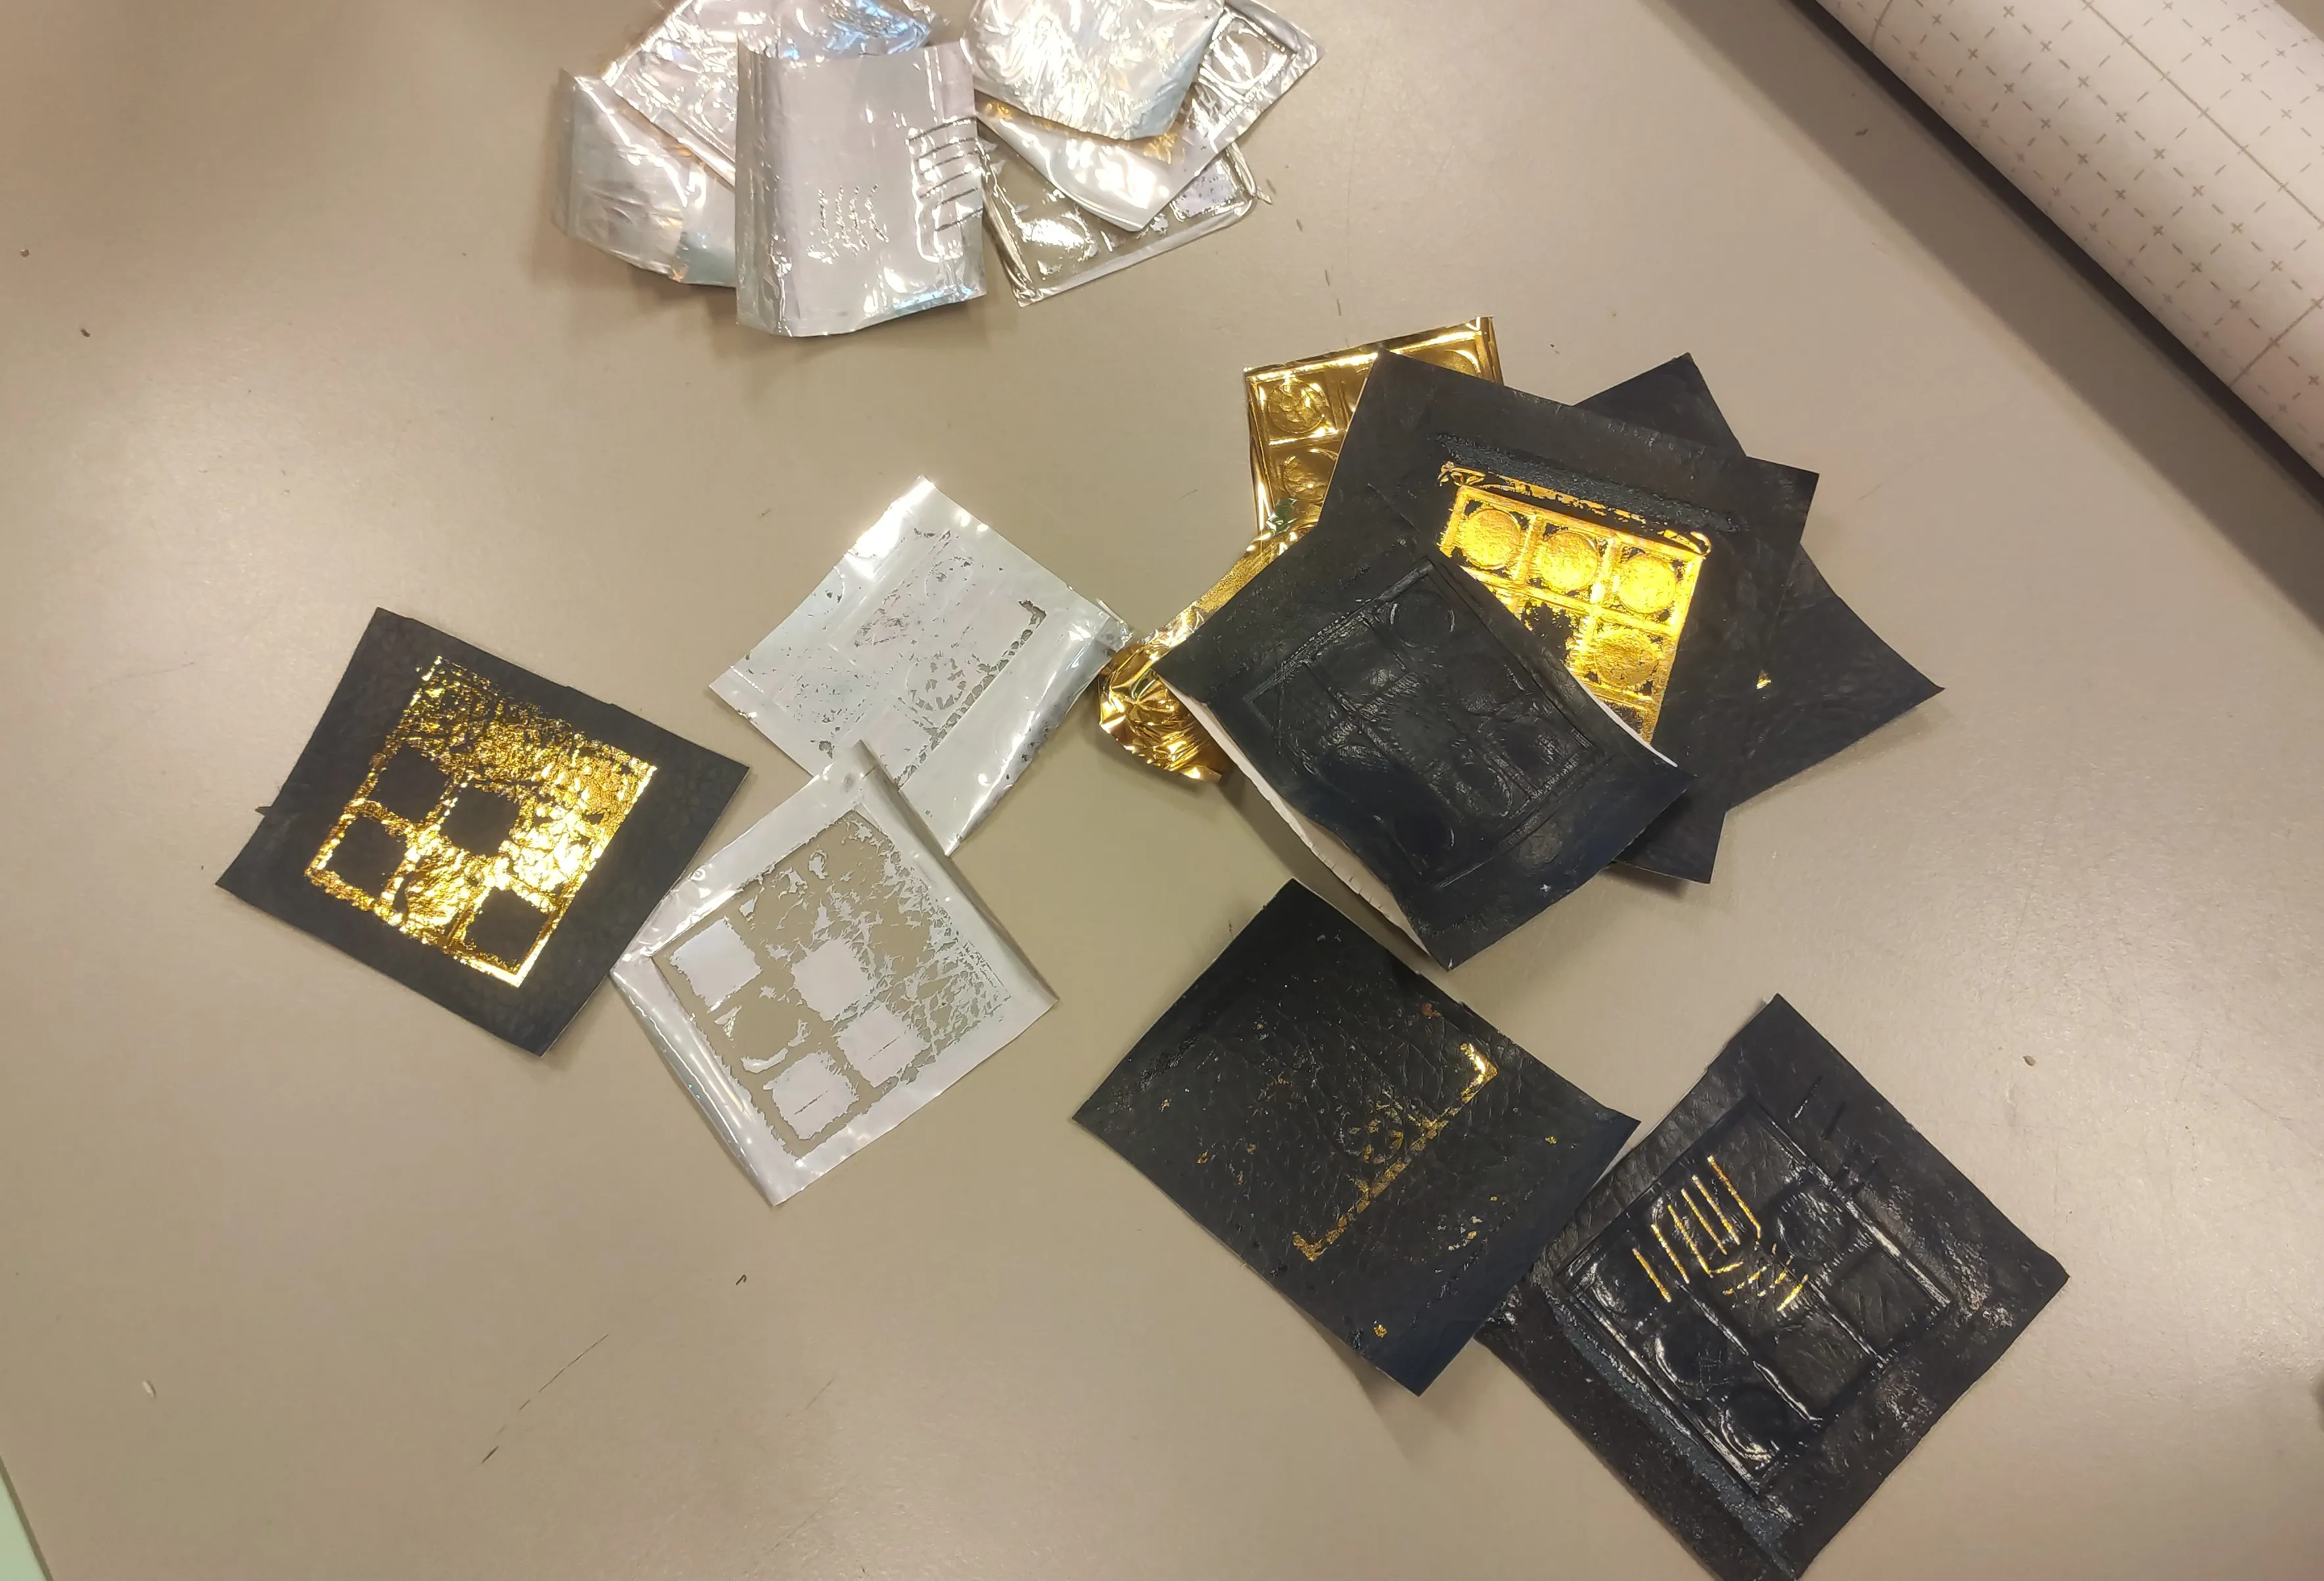
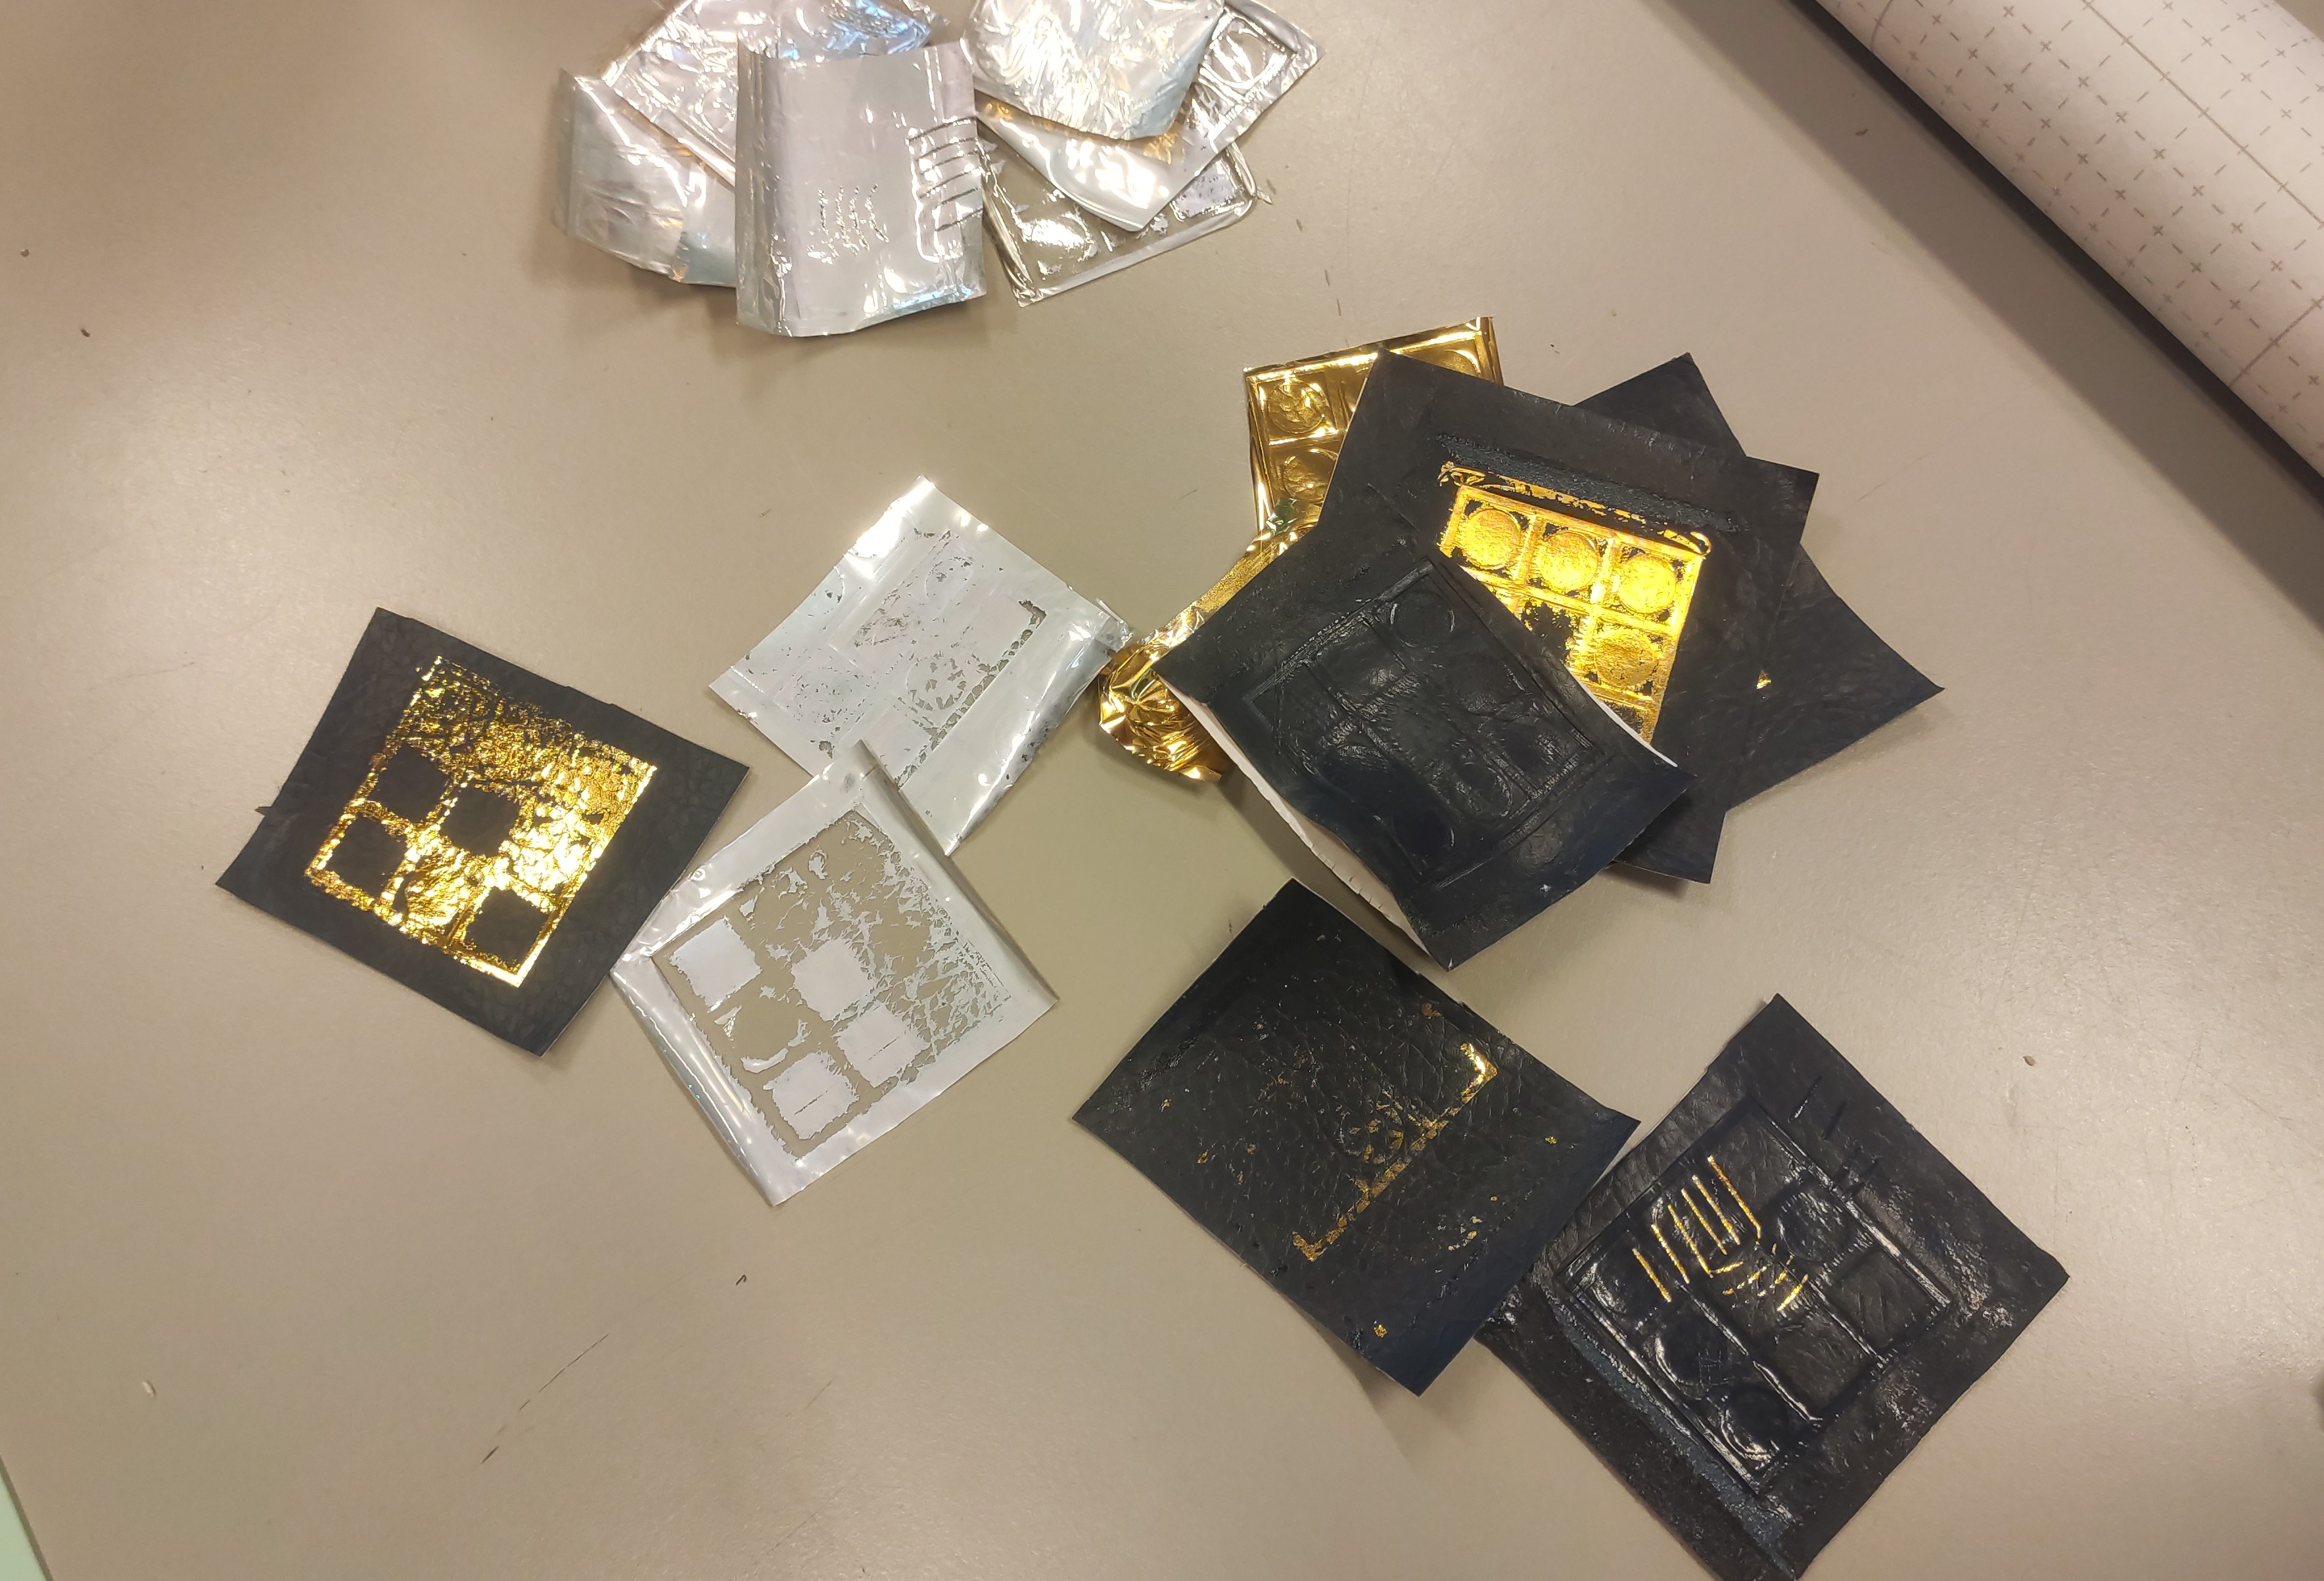
In the end, we gave up on our current method; we suspect that the PCB is simply too thin to create the required temperature difference between the parts in and out of contact. Our best attempts got close, but we couldn’t reliably recreate them.


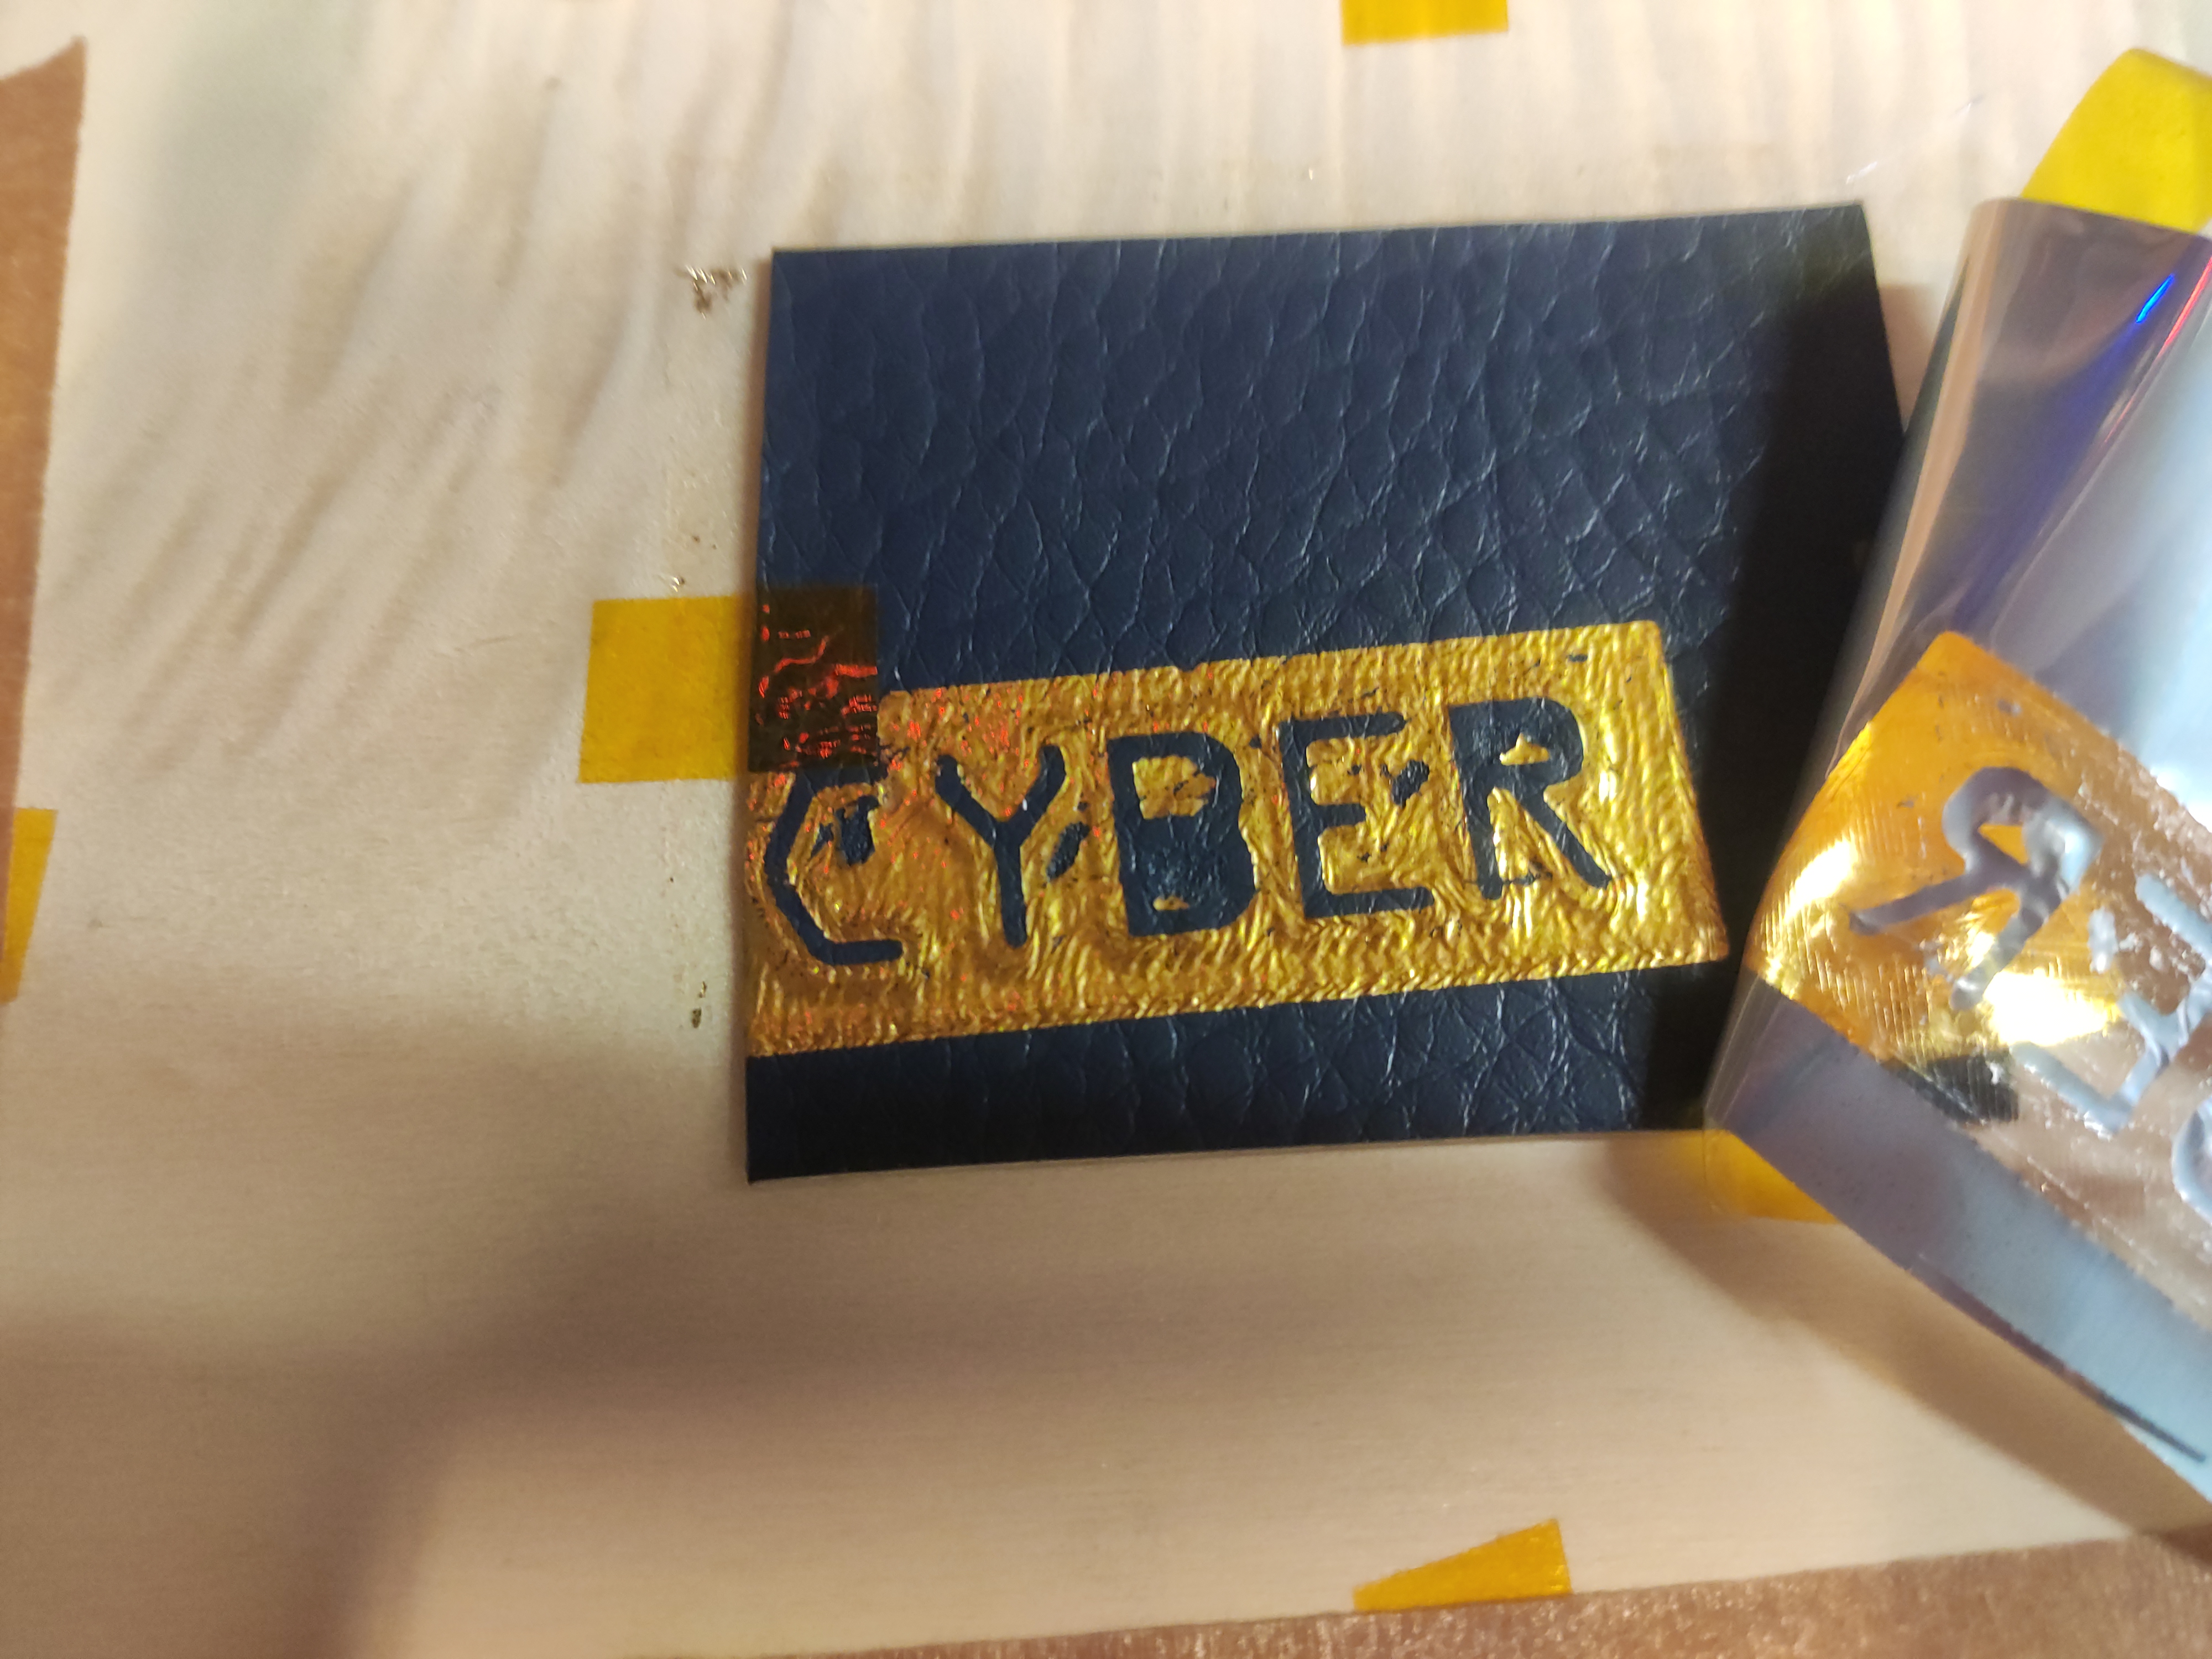
Another attempt which we tried was using the heated extruder of a 3D printer which could draw unto the surface of the foil. This could be done by homing the printer manually, and then creating a single-layer print without any extrusion. Simply set the z-hop to a big number to avoid activating the foil during travel moves. It certainly gave an interesting result, but it wasn’t what we were looking for.

We are certainly retrying this experiment with a thicker PCB, the one used in this article was only 1mm thick.
Thank you for reading this article.If you spot any mistakes or if you would like to contact me, visit the contact page for more details.